Home/Articles / General Dental / Reena’s Notes: TubulesLive with Dr Jason Smithson – The Dentist as an Artist-Technician
June 5, 2014
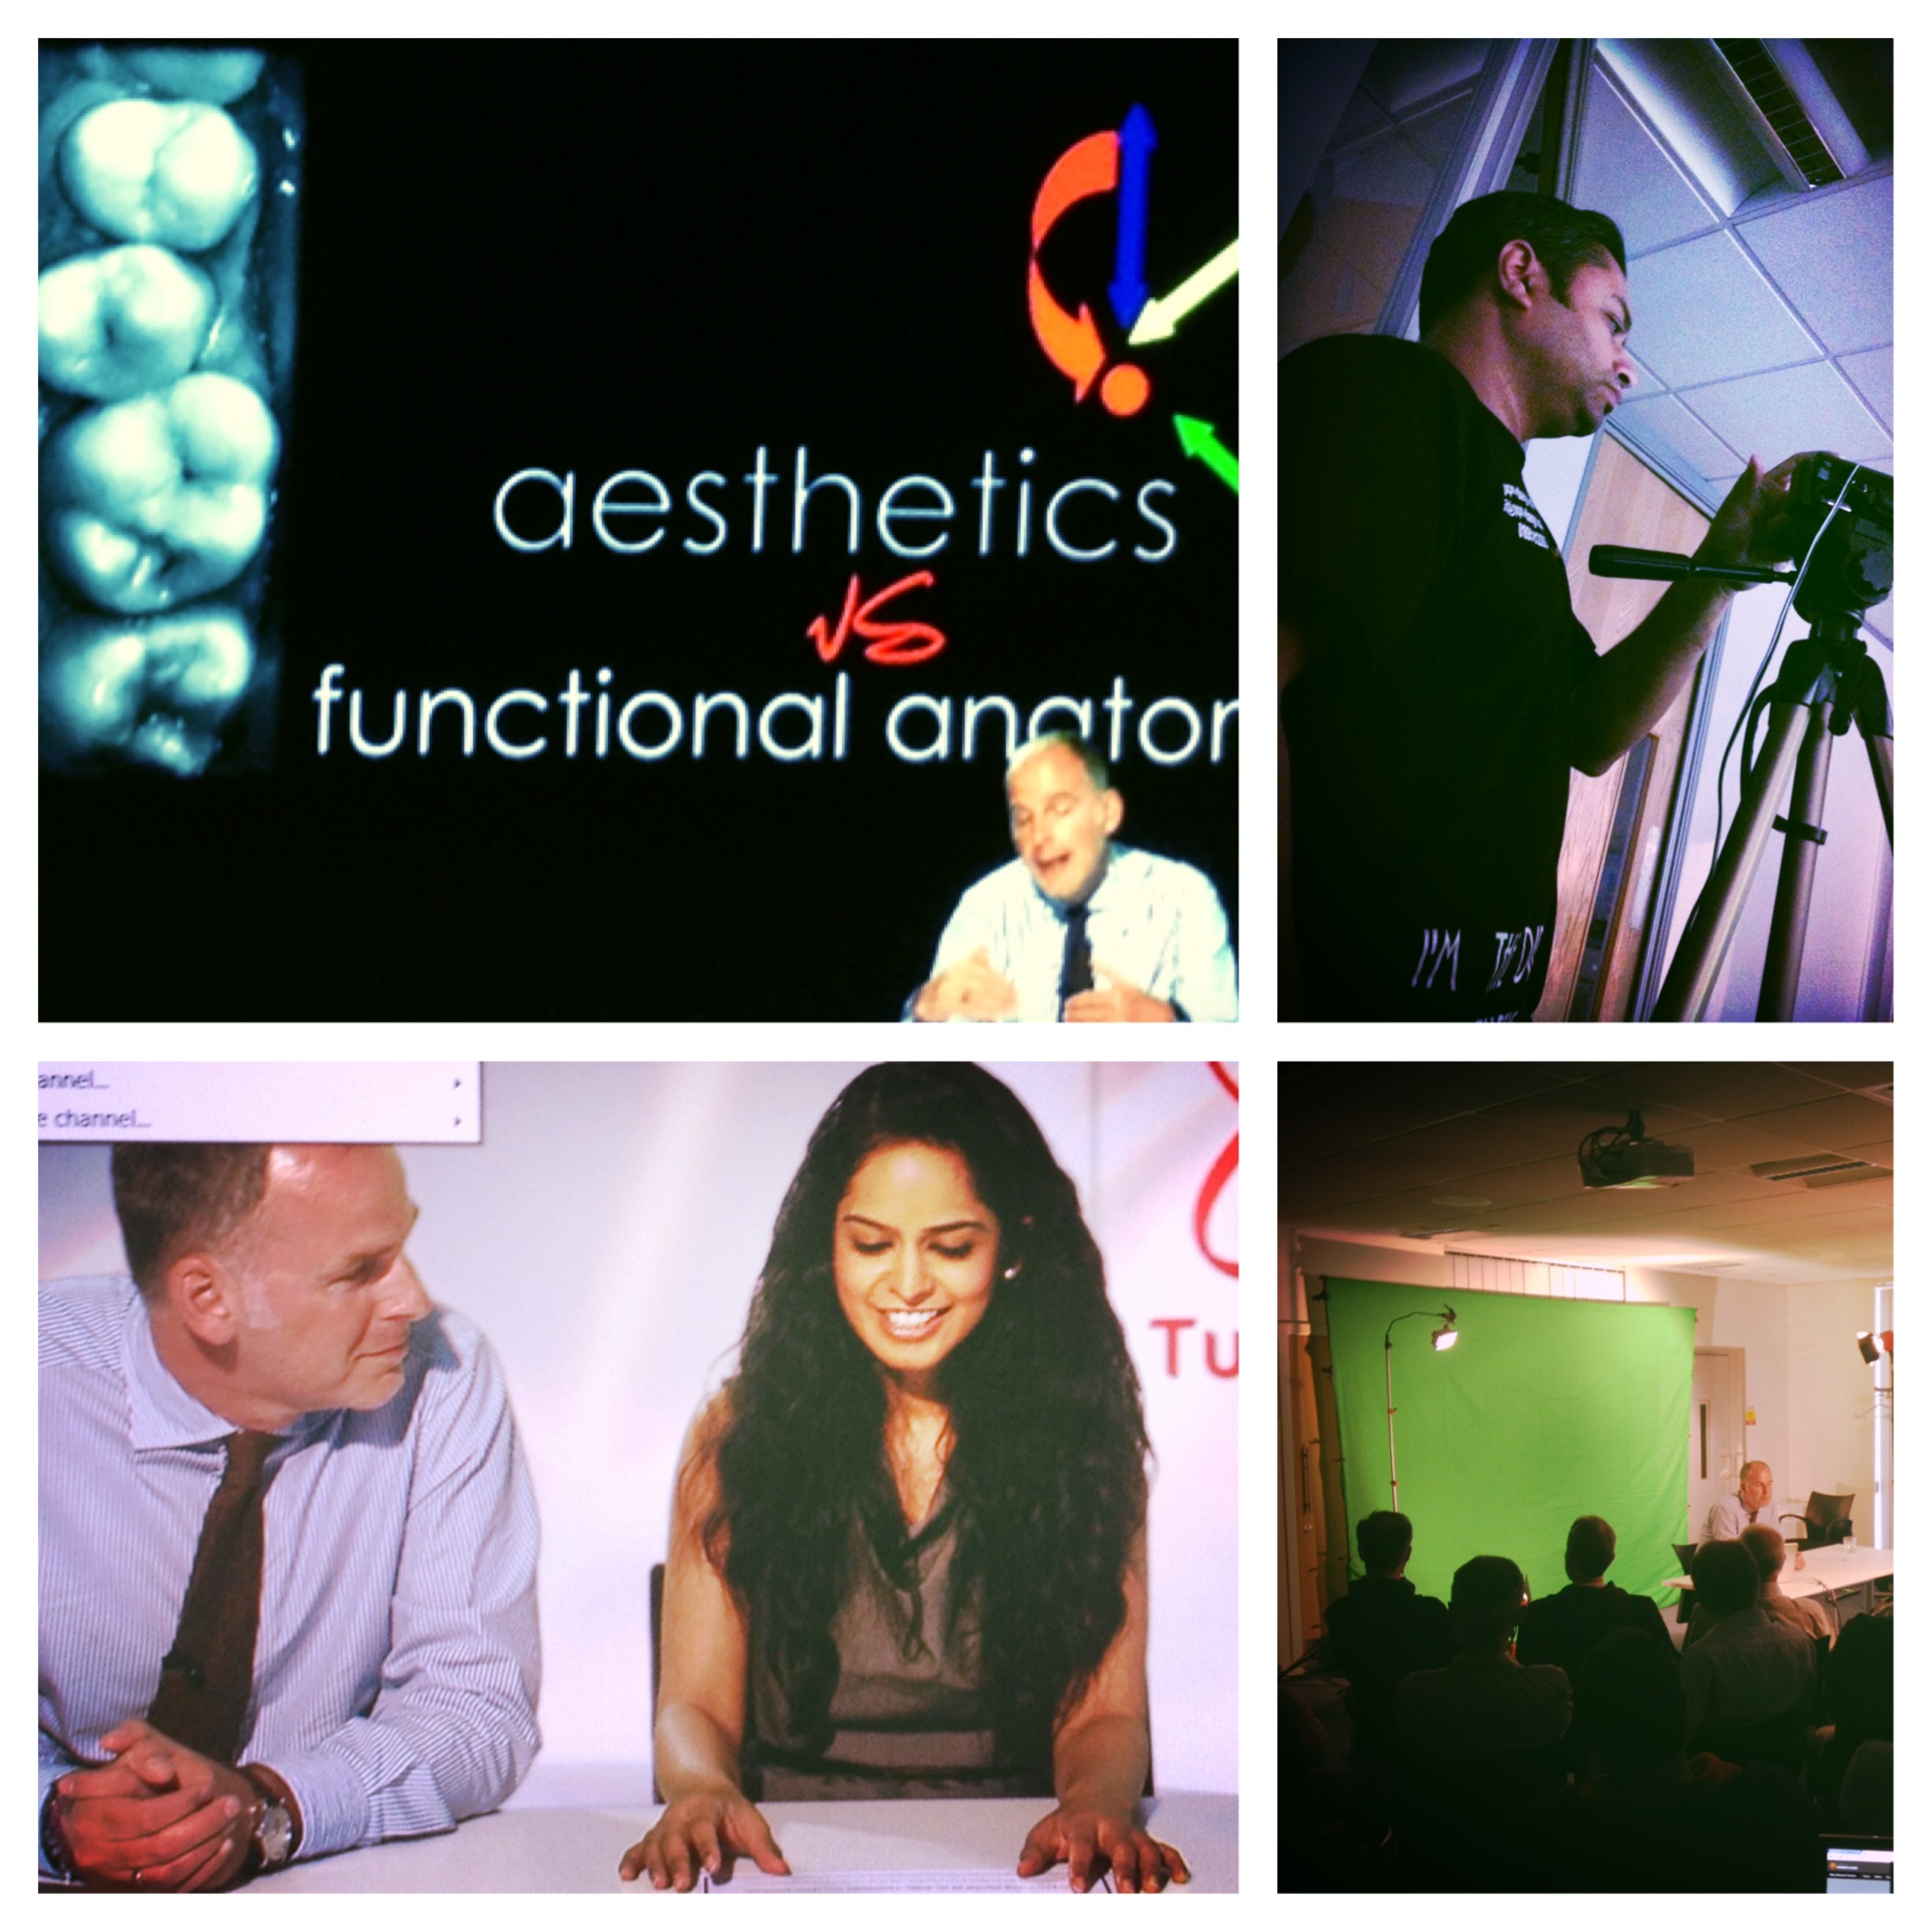
Limited adjustment restorations mean combining aesthetics and functional anatomy. We often spend hours making a beautiful restoration by layering and other techniques only to find it is ‘high’ when the patient bites down. This means we’ve wasted our time and end up with a flat grey mass. The answer to this is the functionally generated aesthetic restoration. If we layer to function, my default the aesthetics will be correct and form follows function.
Concept of the Occlusal Compass:
- DeVreugd – laterotrusion (outward), lateroprotrusion (forward/outward), lateroretrusion (outward/backward), medotrusion (inward/downward/forward).
- Consider working and non-working side movements – depressions allow articulation without interference.
- Defines 2 dimensions. For the third dimension, reproduce cuspal inclinations (occusal-apical dimension; the steeper the angle, the more apical the contact point).
General tips:
- Use of a hyper-chromatic dentine – the chroma will shine through the fissures giving natural aesthetics.
- Use of a high value opaque enamel which matches the natural tooth colour.
- Addition of tint to the fissures (‘tint’ sounds better than ‘stain’ in front of the patient!)
Simplified placement – Bichacho – Instruments:
- Ash 6
- Microbrush
- Number 1 brush
Technique – Posterior:
- Composite should be coated with bond and applied to the cavity with a clean probe. Wipe the probe with an alcohol wipe between placement otherwise the attached composite will polymerise and cause dragging in the next increment.
- Before light curing, condense with a microbrush. Microbrushes are great as they are inexpensive, disposable, ergonomic and help to create irregular concave dentine.
- Always aim to create a rough dentine layer as when the light hits the enamel it will scatter and look more natural.
- Define fissures using the probe then light cure.
- Start with the area opposite to the largest cusp. Ensure the fissure is in the correct place so the ‘occlusal compass’ is correct.
- Light cure only for a quarter of the manufacturer’s recommended time as it is faster and more light will pass to the deeper layers as you layer.
- Add effects such as tint.
Technique – Anterior (e.g. Class 4):
- Palatal stent – cover anterior 6 teeth, extend interproximal as far as possible, sharp and accurate, record incisal edge but not facial. Use diagnostic wax up or old composite on the tooth.
- Preparation – require some degree of preparation to maximise aesthetics. For anterior teeth require a palatal chamfer, palatal bevel and link these two by bevelling the interpoximal line angles. Facial – flame shaped diamond to create an infinity bevel. Proximal incisal line angles using a coarse disc. Similar to an onlay preparation.
- Layering – use the palatal shell and apply a thin layer of semi-translucent achromatic enamel compsite. Adapt to tooth shape in the stent and use a brush with modelling resin. Opaque layer to replace dentine – stay just shy of the preparation. Thereafter use chromatic enamel and add opalescence effects using highly translucent enamel. Final layer with achromatic enamel (thick and adapted with thumb).
- Finishing – surface homogenisation, height of contour and line angle illusions (to narrow wider teeth displace line angles medially). Add surface texture, increate incisal characterics and secondary anatomy (grooves to demarcate lobes). Add final lustre using polishing discs (initially at low speed and thereafter increase the speed but maintain low pressure).
- Use the mylar pull through technique to achieve a good approximal contact.
General Dental
Recent post