Maintain a light, feather-like touch similar to the exploratory stroke during ultrasonic scaling.
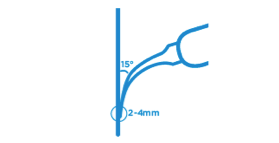
- Adapt 2-4 mm of the active tip area and a 0-15 degree angulation from the long axis of the root.
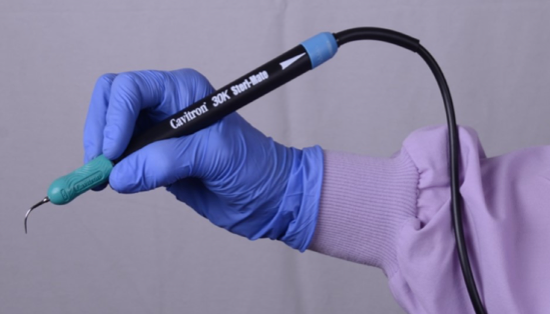
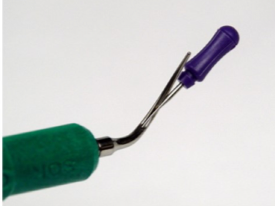
Grasp as shown below:
- There are a number of different ways of orientating your tip.
- Vertical tip orientation: position length of back or lateral surface in a similar manner to a probe.
- Oblique/transverse tip orientation: position length of back or lateral surface at right angles to the long axis of the tooth in a similar manner to a curette.
- The power level will determine the stroke length. Lower power = shorter less powerful strokes. Higher power = long, more powerful strokes.
Stroke – Utilise short, overlapping erasing motion strokes in a methodical pattern to debride the root surface. Can also use a tapping motion with the end of the tip for more tenacious deposits.
- Lavage cools the handpiece and insert – ensure this is at an appropriate level.
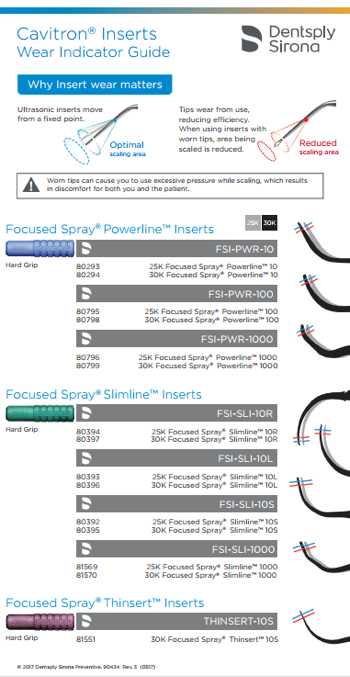
- The last 4 mm of the tip is the active area. Always check if your tips are worn down as even 2mm of wear can result in 59% reduction in efficiency with a 30% increase in scaling time and 40% more scaling force. Order a wear guide to objectively measure this.
- Always fill the handpiece with water prior to placing in the insert.
- The Cavitron systems are supplied with a water line and user-replaceable filter. Change the water line filter when it becomes discoloured.
- Always check the O-ring and replace as required.
- If your insert is overheating check that the water level has been adjusted, there is enough water pressure, ensure the handpiece is filled with water prior to insert insertion and check the insert stack is not bent.
- If the water flow is low – check the water port as this may be clogged. You can easily unclog this with an endo finger spreader.
Insert breakage may be due to an incorrect power settings, inappropriate use of the insert and improper sterilisation.
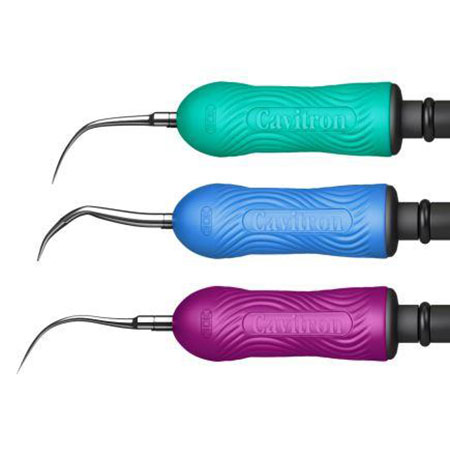
- The Cavitron®family of inserts offers a broad selection of ultrasonic scaling inserts – one insert can’t do it all! Inserts are designed for removing different levels of deposit. Selecting and using the proper inserts can help improve comfort and efficiency.Be aware of what’s available and what may be helpful for your daily practice:
- Ultrasonic Insert: 47% thinner, tactile sensitivity for efficient calculus detection and removal, access to difficult areas, light deposits, all power levels.
- 10S Ultrasonic Insert:Designed for fine debridement deplaquing, light-moderate deposits, low-medium power levels.
- 1000 Ultrasonic Insert: Triple bend shank design, beveled edges, light-moderate deposit, all power levels, methodical stroke pattern.
- Right & Left Ultrasonic Insert:Fine per iodontal debridement, curved design, concavities, furcations, low – medium power levels.
- 10 Ultrasonic Insert: Straight shank, used on all tooth surfaces, moderate-heavy deposits, all power levels.
- 100 Ultrasonic Insert:Shank- double bend, access to posterior teeth, aids in adaptation, moderate-heavy deposits, all power levels.
- 1000 Ultrasonic Insert:Triple bend shank, fross-section: square, shape/design disperses energy, line angles, interproximal spaces, moderate-heavy deposit, all power levels.
- 3 Ultrasonic Insert: Rounded toe design, blunt tip, calculus bridges, heavy stain, vertical stroke, all power levels.
Periodontology
Recent post
June 29, 2023
Pink Aesthetics...
Read more General Dental,Periodontology June 26, 2022
10 Key Points from EuroPerio10...
Read more Periodontology,Reena's Notes June 11, 2021
Working as a hygienist or therapist...
Read more General Dental,Periodontology